Glomopay is a cross-border payments platform. The documentation is organised by product, and each product section holds two kinds of page.
Pages titled as a noun — Subscriptions, Bank Transfer — explain what an object is. Pages titled as a job — Set up recurring subscriptions — are complete integration flows: the APIs that job needs, in the order to call them. A flow lives one level under the object it sets up, so the explanation and the task for the same subject sit together.
| If you are building… | Start here |
|---|---|
| Taking card details on your own PCI-DSS certified surface | Accept card payments server-to-server |
| Charging a customer on a repeating or on-demand schedule | Set up recurring subscriptions |
| Remitting funds abroad for a resident Indian investor under LRS | Collect LRS remittances from India |
| Proving a payer owns the bank account funding a transaction | Verify a payer's bank account (TPV) |
| Collecting payments into a static virtual account by bank transfer | Set up bank transfers |
- Glomo overview — the platform glossary. What an LRS order, purpose code, virtual account or RFI actually is.
- Payin — collecting money: customers, orders, checkout, payment links, payment methods, refunds, disputes, subscriptions, LRS.
- Payout — sending money: the payout life cycle, rails, beneficiaries, purpose codes.
- Multi-currency accounts — holding money: balances, conversion, add and withdraw, and the settlement holiday calendar.
- Verification — KYC, bank account validation and TPV.
- Request for Information (RFI) — responding to a compliance request, per object.
- Reports — the reports you download or schedule from the dashboard for reconciliation, compliance and treasury.
- Identity and Access Management — one login across your MIDs, the Admin/Member/Sales Partner roles, and inviting your team.
- API reference — every endpoint, generated from OpenAPI. The OpenAPI description itself is published as one self-contained file at /openapi.yaml (JSON) — point your SDK generator, HTTP client or coding agent at it directly.
- Developer resources — authentication, errors, pagination, rate limits, webhooks, versioning, supported countries, quotes and the client SDKs.
To get started with Glomo APIs, API keys are essential. These API keys, available on the Glomo dashboard, must be included in all API requests to the Glomo platform.
Login to your Glomo Account: Login to your account via the Glomo Dashboard.
Obtain API Keys: After logging in, navigate to the API Keys section from settings to access your Test and Live keys.
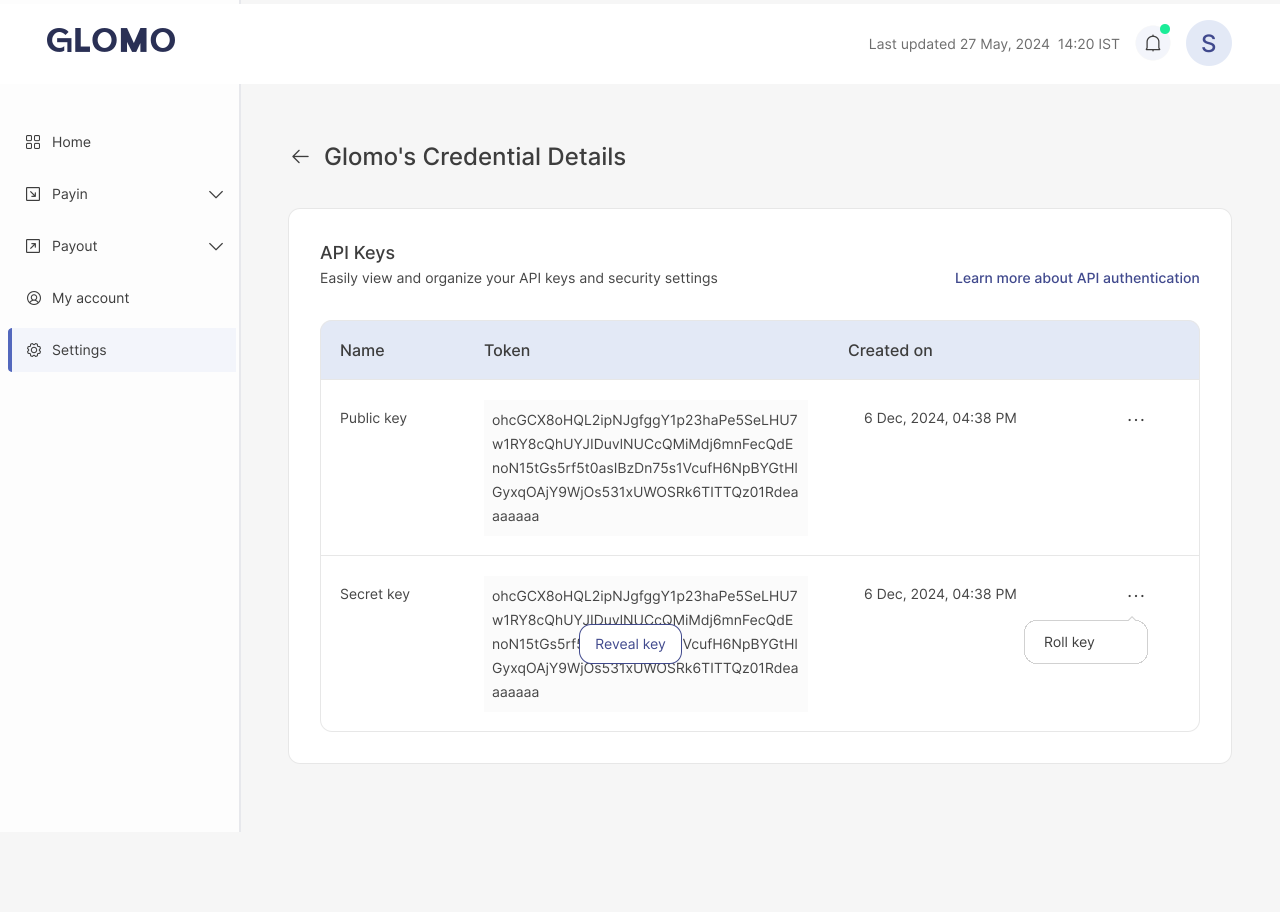
Choose Your Environment:
- Test Environment: Use test API keys to simulate transactions without real money in test environment.
- Live Environment: Switch to live API keys when you're ready to process real payments on your production environment.
Integrate the APIs: See Authentication for how to send the key on every request, then follow your integration flow above.